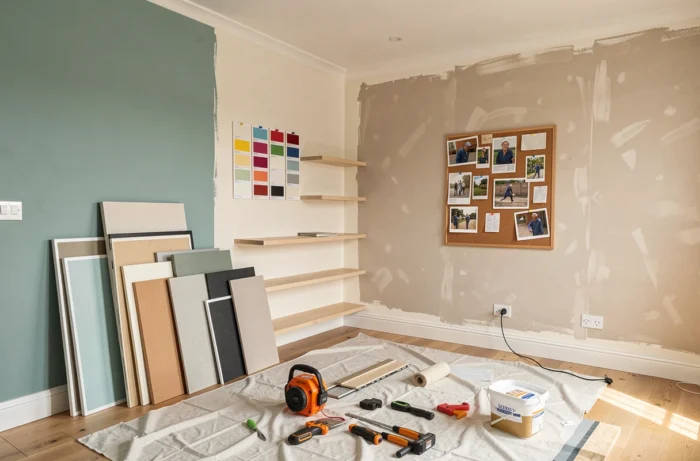
Renovating and decorating a house does not always require major work or a significant budget. With regulatory constraints related to the energy performance diagnosis (DPE), the decrease in global renovation aids, and the rise in material costs, individuals are turning to targeted interventions that can be completed in a few hours or over a weekend. Here are 20 concrete ideas, listed in no particular order, to transform your interior without tearing everything apart.
1. Repaint a single wall in a saturated color
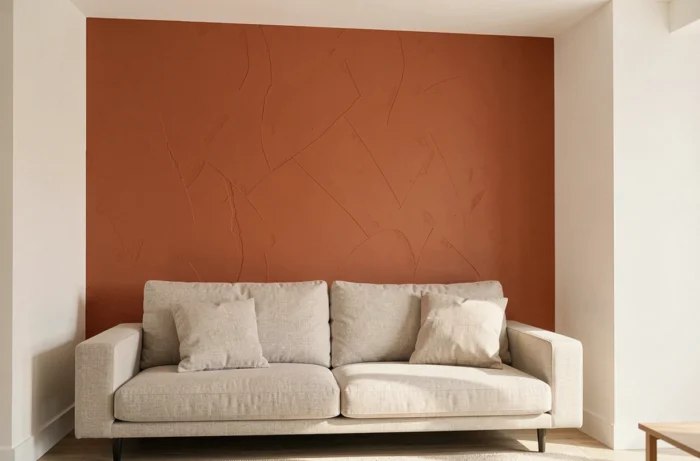
An accent wall changes the perception of an entire room. The principle: choose the wall that receives the most natural light and apply a bold shade (terracotta, sage green, duck blue). The rest of the walls remain neutral.
The preparation of the surface is more important than the paint itself. Washing, light sanding, and a primer suitable for the type of wall (plaster, cement, existing wallpaper) prevent touch-ups. Two coats are sufficient with a high-covering paint.
2. Install open wall shelves in the kitchen
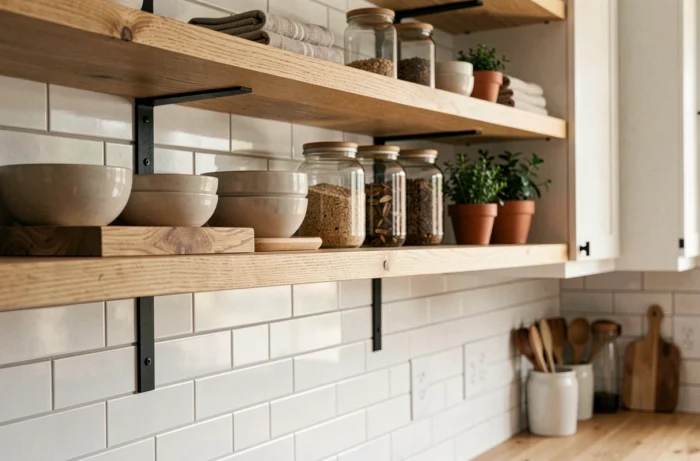
Replacing one or two upper cabinets with open shelves visually lightens the kitchen and makes utensils accessible. Wooden battens fixed to the wall with metal brackets form a sturdy support at a low cost.
A common pitfall: overloading the shelves. Three to five items per level, with a mix of utilitarian dishware and a few decorative pieces, gives an airy result. Raw wood or black metal fits most kitchens. More ideas for interior transformation are available on https://www.idees-maison.com/ with guides tailored to each room.
3. Lay click vinyl flooring over old tiles
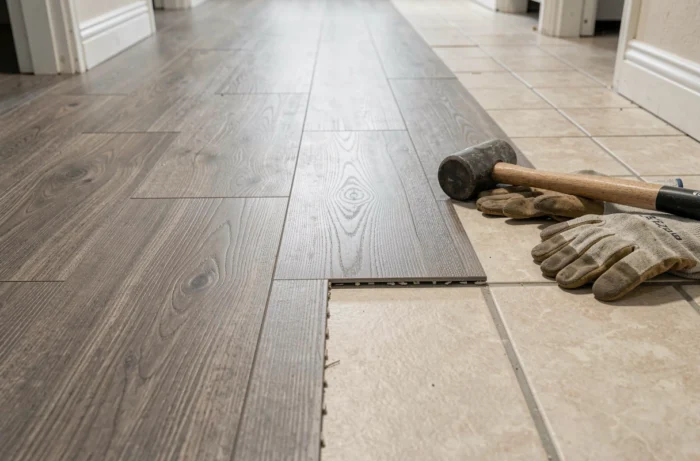
Click vinyl flooring (also known as LVT) can be installed directly over existing tiles, without glue or leveling if the surface is flat. It is one of the best effort-to-result interventions for radically changing the atmosphere of a room.
Check that the joints of the tiles do not exceed a few millimeters in depth. Beyond that, a leveling compound is necessary. The click planks can be cut with a utility knife, making installation accessible without specialized tools.
4. Create a wall of frames with a regular grid
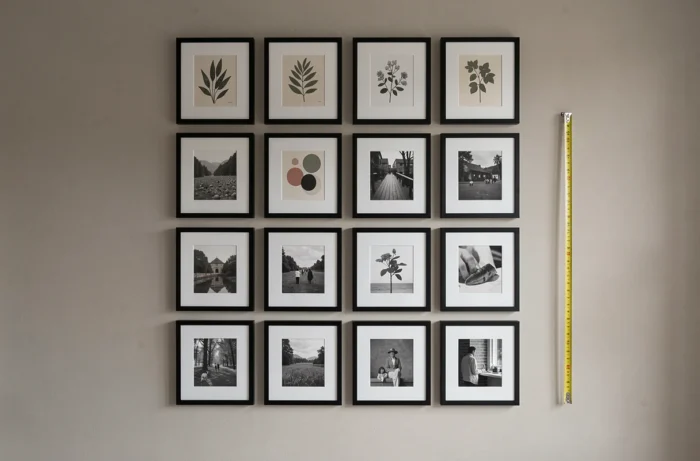
The gallery wall works best when it follows a visible logic. The grid pattern (identical frames, evenly spaced) is suitable for hallways and narrow rooms. The arrangement in a living room, which is more free-form, benefits from being tested on the floor before any drilling.
Use masking tape to simulate the placement of the frames on the wall. This ten-minute step avoids unnecessary holes and touch-ups.
5. Replace kitchen and bathroom cabinet handles
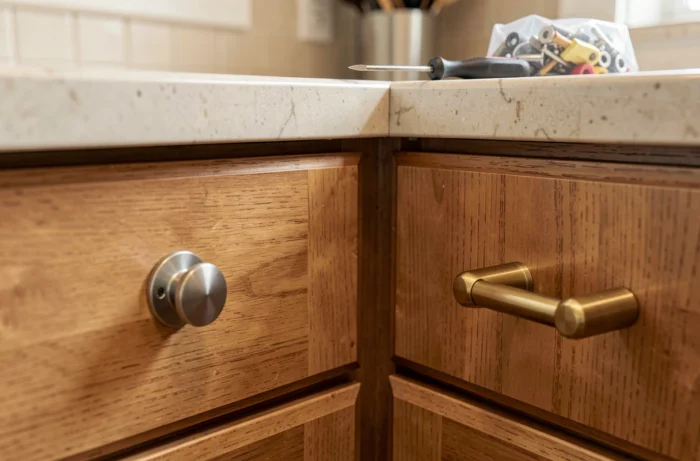
Handles and drawer knobs can be changed in just a few minutes per piece of furniture. Switching from a white plastic model to a brushed brass or leather handle is enough to modernize cabinets that are still in good condition.
The only technical point: the center-to-center distance (the distance between the two fixing screws). Measure it before purchasing. If you change the center-to-center distance, you will need to fill the old holes and drill new ones, which remains a simple task with a drill and some filler.
6. Apply a decorative lime plaster in a wet room
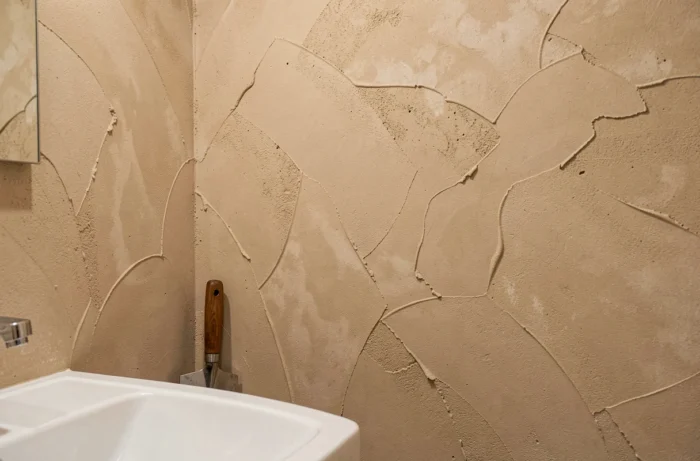
Lime plaster (tadelakt or stucco) provides a mineral texture that advantageously replaces wall tiles in a bathroom. Its application requires a bit of practice: it is done in two crossed passes with a stainless steel trowel.
On a healthy and dry surface, lime plaster naturally regulates humidity. However, it requires a waterproof treatment in areas of direct splashing (shower, bathtub surround).
7. Install indirect lighting with LED strips under furniture
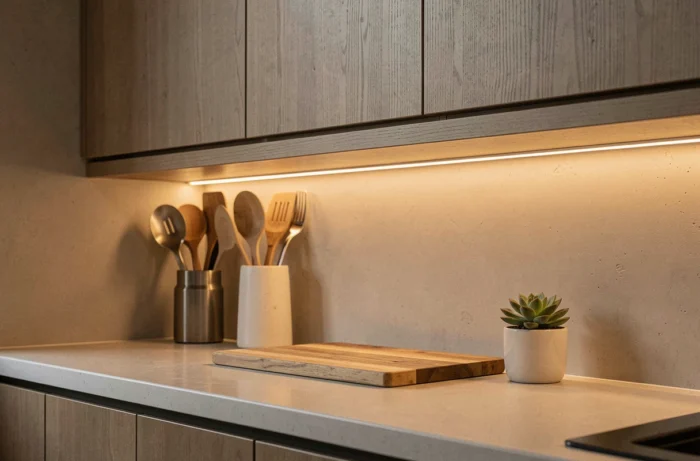
A self-adhesive LED strip placed under a base cabinet, under a shelf, or along a baseboard transforms the ambiance of a room in the evening. Indirect light reduces harsh shadows and creates a sense of volume.
A well-positioned LED strip often replaces a floor lamp while freeing up floor space. Opt for a color temperature between 2,700 and 3,000 kelvins for living spaces, warmer and more relaxing than cool white.
8. Create a headboard with vertical slats
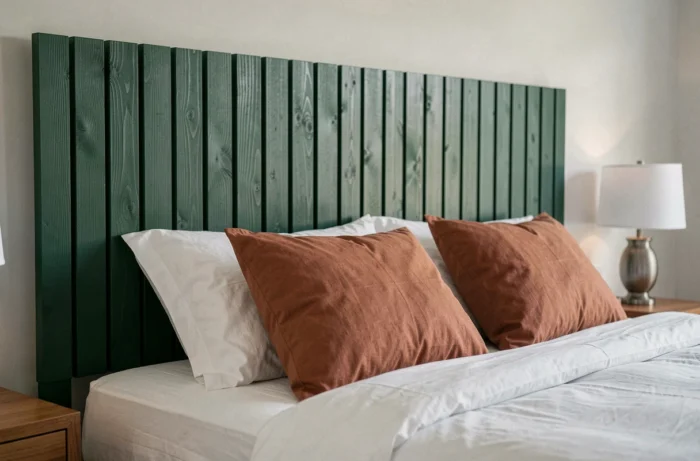
Wooden slats (square or rectangular section) fixed vertically on a medium-density fiberboard panel form a graphic headboard. The cost remains modest: a few linear meters of slat, wood glue, and screws.
Leave the wood raw for a Scandinavian look, or apply a tinted stain for a warmer effect. The width between the slats (one to three centimeters) alters the visual effect: tight for a dense look, spaced for a more airy style.
9. Transform a closet with adhesive wallpaper

Wallpapering the interior of a closet or wardrobe with repositionable adhesive wallpaper gives a surprise effect upon opening. This trick also works on the risers of a staircase or the back of a niche.
The repositionable wallpaper can be removed without damaging the surface, making it suitable for renters. Clean the surface beforehand and apply the paper from top to bottom while smoothing out bubbles with a squeegee.
10. Add a self-adhesive backsplash in the kitchen
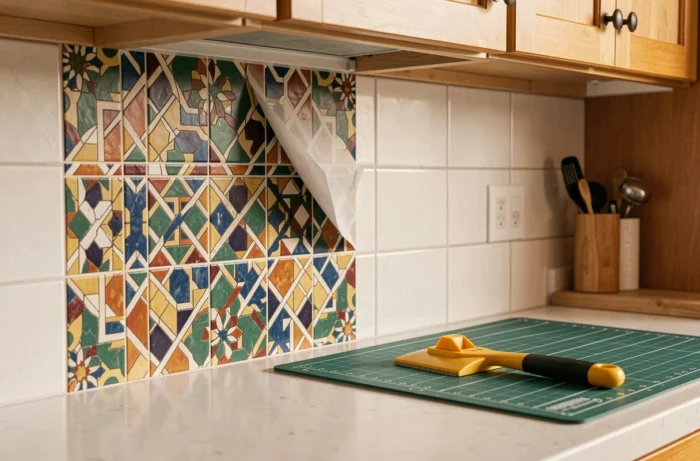
The adhesive backsplash mimicking cement tiles can be applied over old tiles or directly on a smooth wall. It withstands moderate heat and water splashes, but is not suitable right behind a gas cooktop (risk of peeling).
Cut the sheets with a utility knife before installation. A clear silicone sealant at the bottom of the backsplash and along the countertop ensures waterproofing.
11. Paint a wooden piece of furniture without sanding using a bonding primer
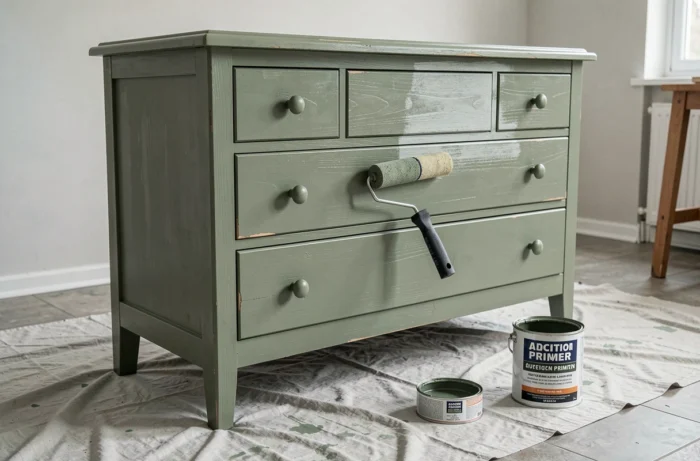
A bonding primer (or universal undercoat) allows you to paint directly on a varnished or laminated piece of furniture without having to sand it completely. A light scuffing with fine sandpaper is recommended, but the bulk of the work is eliminated.
Apply the primer in a thin layer, let it dry for the time indicated by the manufacturer, then apply two coats of paint. The bonding primer is the key to paint that adheres to an old piece of furniture without chipping off after a few weeks.
12. Create an indoor vertical garden with hanging potted plants
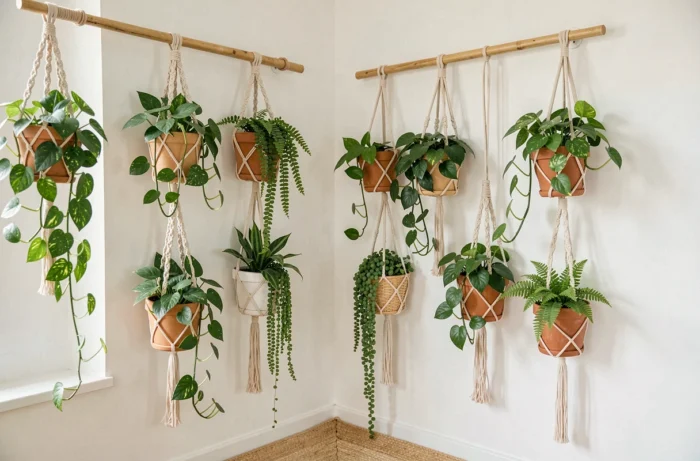
Hanging pots at different heights on a wall or a rod form a vertical garden without taking up floor space. Trailing plants (pothos, ivy, heart string) are particularly suited for this.
Check the sturdiness of the fixture: a terracotta pot filled with moist potting soil weighs several kilograms. Use anchors suitable for the type of wall (drywall, brick, concrete) to avoid unpleasant surprises.
13. Replace a central light fixture with a rattan or woven fiber pendant
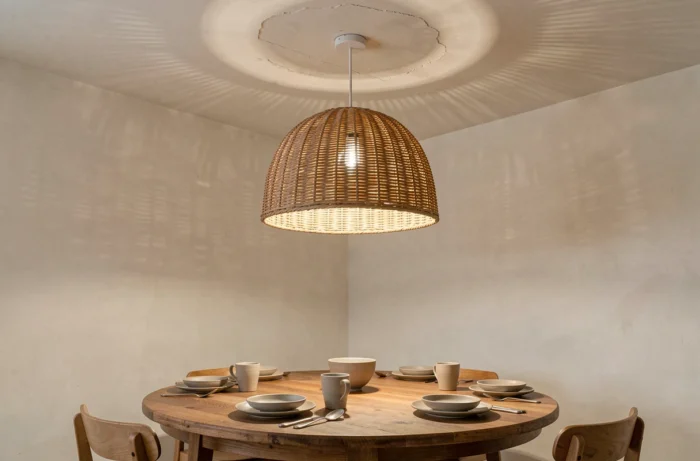
The central light fixture defines the character of a room. Replacing a basic ceiling light with a pendant made of natural materials (rattan, bamboo, palm fiber) instantly warms up a living room or dining room.
Choosing an oversized pendant relative to the room creates a strong focal point. The diameter of the pendant should represent about one-third of the width of the table it hangs over.
14. Set up a workspace in a nook or under a staircase
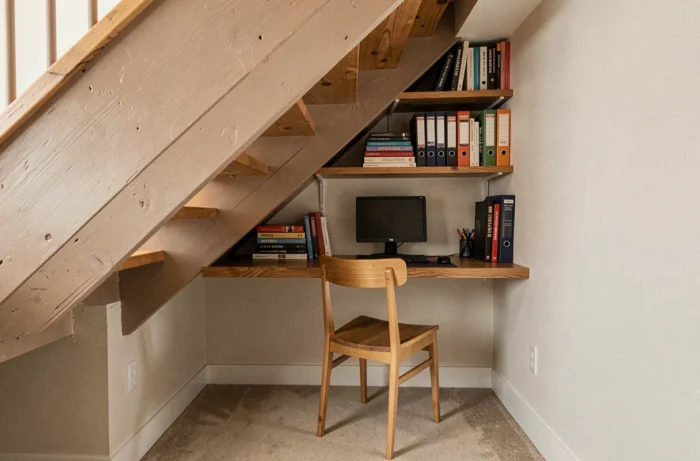
A wooden tabletop fixed between two walls of a nook, complemented by a shelf above and an electrical outlet, is enough to create a functional workspace. Under a staircase, the available depth often allows for a 60-centimeter work surface.
Lighting is the point not to neglect in these often dark spaces. An articulated lamp fixed to the wall or an LED strip under the shelf compensates for the lack of natural light.
15. Install decorative moldings glued to a smooth wall
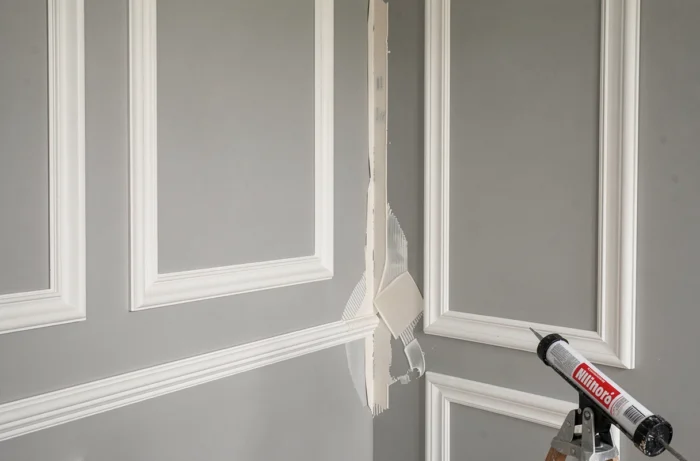
Extruded polystyrene or wooden molding strips, glued and then painted the same color as the wall, add relief to a flat surface. This treatment works well in a bedroom or living room, above a dado rail or as panel framing.
Neoprene or polymer adhesive ensures lasting hold. Paint the moldings after installation to hide the joints and achieve a uniform finish.
16. Optimize storage with pegboard panels
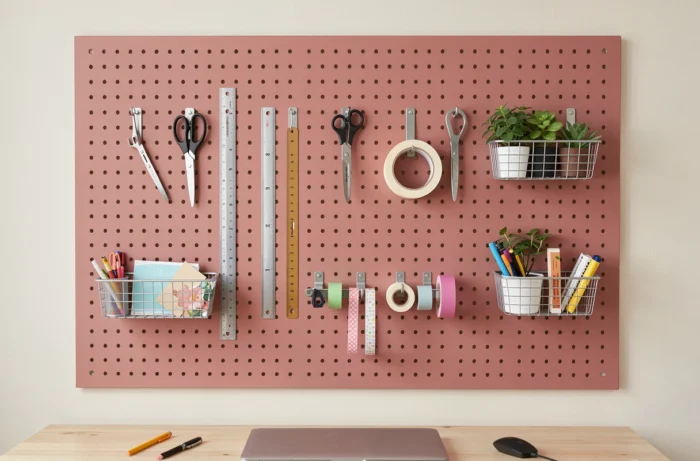
The pegboard adapts to almost any room: entryway for keys and accessories, kitchen for utensils, office for supplies. Hooks and shelves can be repositioned at will.
Fix the panel on spacers (battens a few centimeters thick) so that the hooks can insert from the back. A panel measuring 60 x 120 centimeters covers the needs of a functional storage space.
17. Add character to an entryway with a bench and hooks
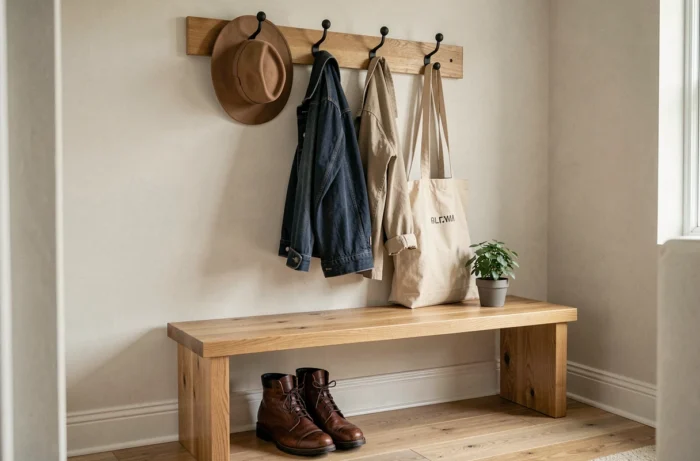
A narrow bench (30 to 40 centimeters deep) combined with wall hooks structures an entryway and prevents a pile of shoes on the floor. A basket slipped under the bench completes the storage.
The entryway is the first room your visitors see, and often the most neglected in decoration. A mirror above the hooks visually enlarges the space and adds light.
18. Refresh a bathroom by changing the shower curtain and accessories
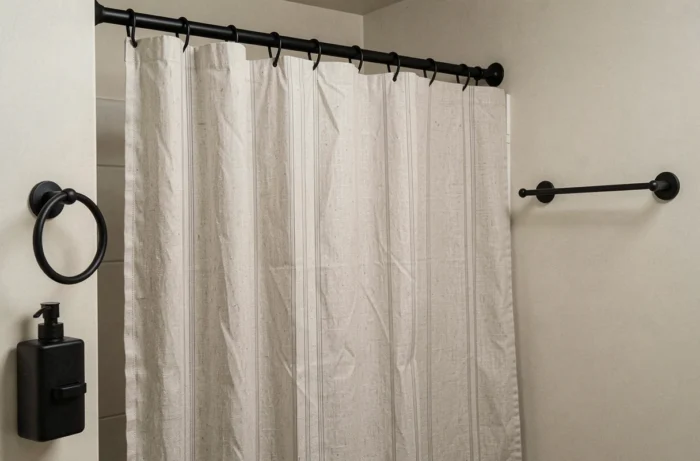
The shower curtain, soap dispenser, bath mat, and towels form a coherent visual ensemble when they share a palette of two or three colors. Changing these elements all at once produces a renovation effect without any plumbing work.
Choose a polyester fabric curtain rather than PVC: it is machine washable, dries quickly, and hangs better. A straight metal rod in black or gold is a better replacement for the entry-level telescopic model.
19. Integrate energy constraints into your small decorative projects
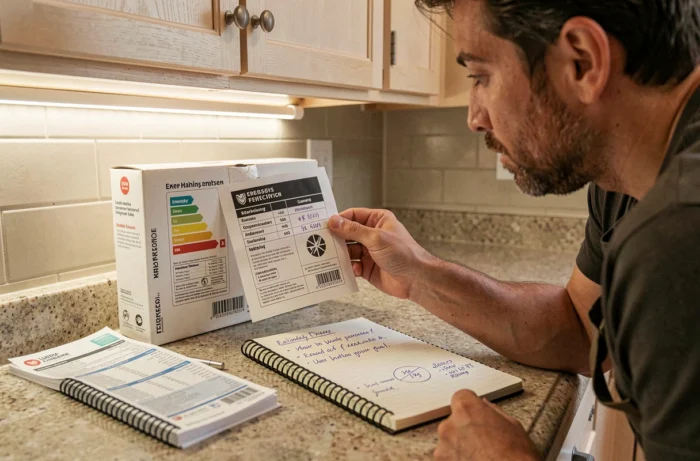
Since January 1, 2025, the energy audit is mandatory for the sale of homes rated E on the DPE, following classes F and G which have been affected since April 2023. This constraint changes the way decorative work is thought out.
Before repainting a wall facing outside, check if interior insulation (thin lining or rigid panel) would be relevant. Combining a decorative project with an insulation gesture transforms an aesthetic expense into an investment that improves the DPE rating of the property.
20. Adopt a room-by-room approach rather than a global project
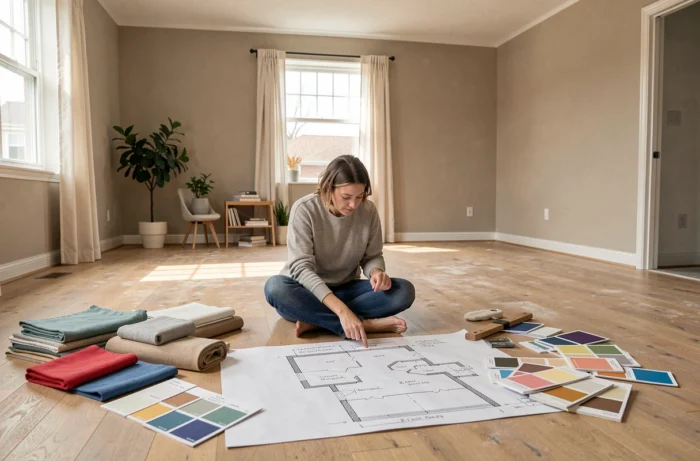
The current trend leans towards comprehensive renovations with support, but the number of MaPrimeRénov’ Parcours accompagné applications has dropped by about 75% in the first half of 2026. Individuals are returning to a logic of small room-by-room projects, easier to finance and plan.
Focus your budget and energy on one room at a time. Complete it entirely before moving on to the next. This method limits the feeling of a permanent construction site and allows you to concretely measure the effect of each intervention.
Every house has its own constraints, and feedback from the field varies on the best sequence of work. The most useful approach is to start with the room that weighs most on your daily life, with a simple first step, adjusting the plan as results are obtained.